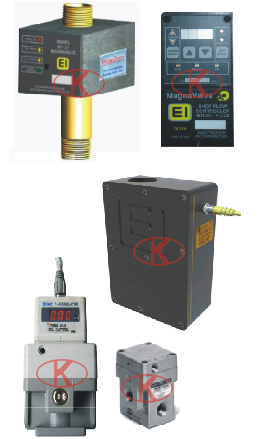
Digital control shot material valve:
Digital control shot valve doesn’t have any activating component, relying on strong permanent magnet and remove electromagnet to regulate the shot flow, the upper part of shot material valve is electromagnet controlling module and lower part is shot flow sensor module.
The flow controller can supply suitable control signal to the shot material valve, the inner circuit of shot material valve will transfer the received control signal to output signal to control the shot flow. When the shot fall off by the lower sensing part of shot material valve, signal is produced and sent to the flow controller as flow feedback signal. The controller will compare the feedback signal and the required shot material flow and regulate output signal back to the shot material valve, to complete closed controlling circulation. Non-magnetic digital control shot valve applies to non-magnetic shot flow control.
The shot material flow is set with program control alarming and limit stop.
Digital control pressure regulating valve:
Digital control pressure regulating valve consists of large flow pressure reducing valve, electrical proportional valve, pressure sensor.
Electrical proportional valve transfers the PLC input voltage signal into the air pressure signal to control guiding control gas circuit of large flow pressure reducing valve, regulating the pressure of large flow pressure reducing valve.
Output the voltage signal by the output port of electrical proportion valve and feedback to PLC, to digital closed control for the shot blasting pressure.
Input signal: DC0-10V
Set pressure: 0.005-0.9MPa
Precision ±2%

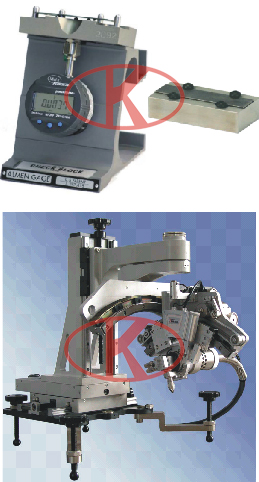
Inspection apparatus
Test the original deflection of test block firstly when inspect the arc height, then place the device with the test block in the corresponding position of the shot blasting cabinet, blasting according to the same process of shot blasting parameters.
Shot blasting coverage rate
The coverage rate inspection is coating blue ink or Fluorescent glaze on the surface of work piece, then shot blast on the work piece according to the process parameters, Take out of the workpiece every time after blasting, observed under microscope of the proportion of residual coating of the surface.
The residual stress inspection
The residual stress depth and pressure stress value of the shot blasted workpiece can be tested by X-ray iffraction principles.
Select any of the four parameters of portable roughness device: Ra,Rmax/Ry,Rz, and it can be selected to replace each other, in the range of 0.8mm/0.03in, the shifting length is 1,3 or 5 to cutoff, it can be measured on the vertical or upside-down position. The probe has four shifting position- axial direction, 900, 1800, 2700 it can measure the surface of inner and outer diameter which is hard to contact.
